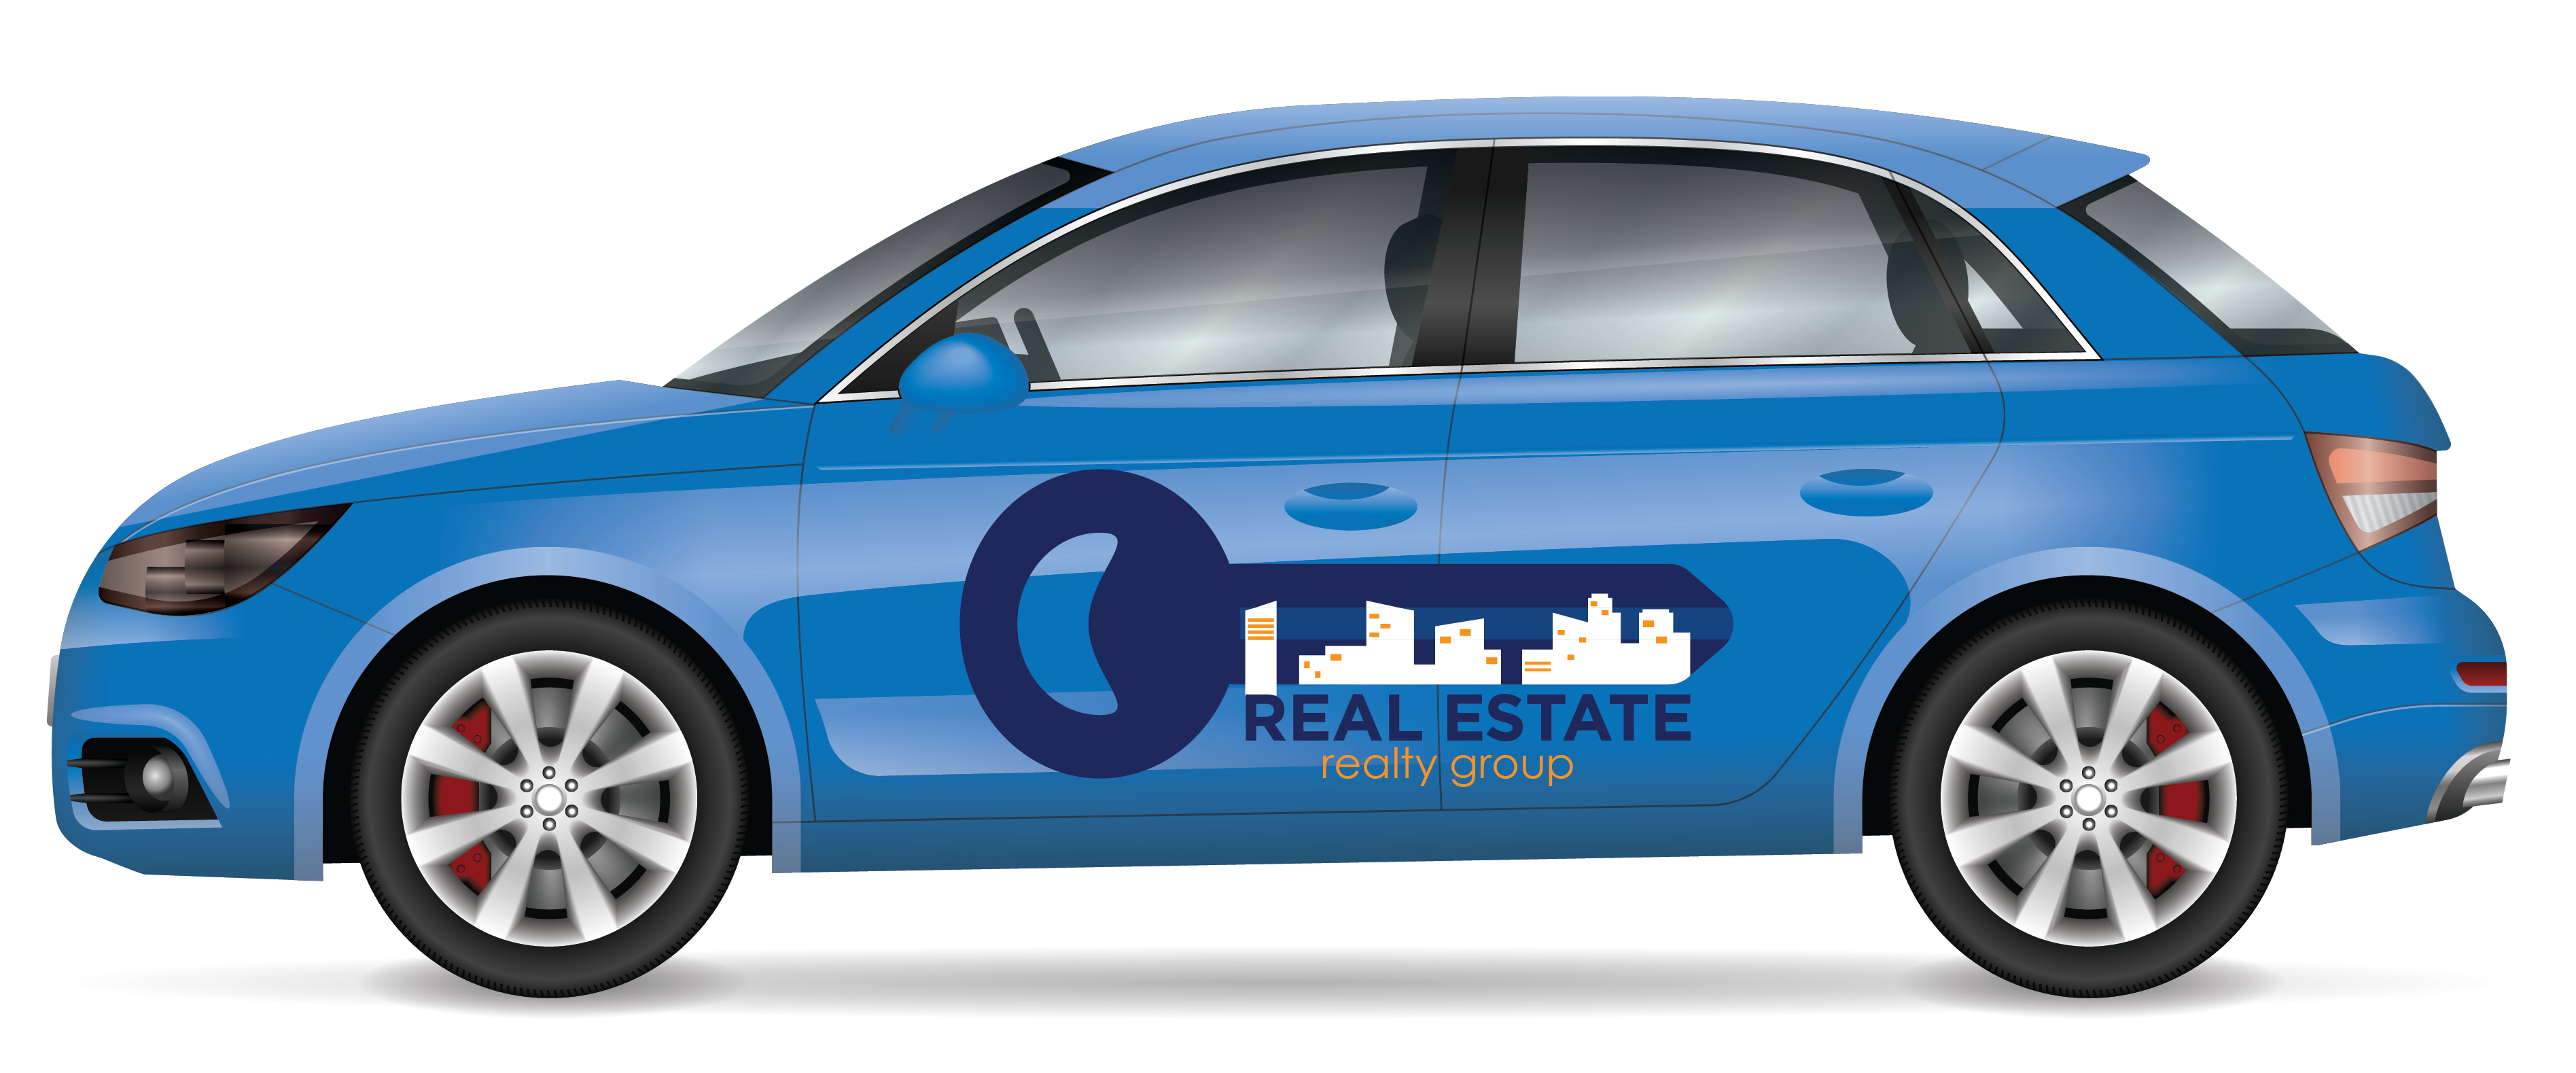
VEHICLE GRAPHICS
Turn your vehicles into advertising machines graphics. Whether you’re considering window or door vinyl, graphics and decals transform each vehicle into a rolling billboard. This added exposure will help build company and brand awareness.

VINYL GRAPHICS
100% Customizable – Easy to Install – Weatherproof and Waterproof
Our vehicle graphics are printed on 3M Vinyl with lamination. Vehicle lettering works great on cars, trucks, vans, jeeps, buses, commercial vehicles. It works well on windows as well as painted surfaces and other areas of these vehicles.
Customize with your name, information & logo.
Vehicle Graphics
100% Customizable – Easy to Install – Weatherproof and Waterproof
Our vehicle graphics are printed on 3M Vinyl with lamination. Vehicle lettering works great on cars, trucks, vans, jeeps, buses, commercial vehicles. It works well on windows as well as painted surfaces and other areas of these vehicles.
Customize with your name, information & logo.
VEHICLE MAGNETS
Thin yet strong, car magnets can be attached to flat, smooth magnetic vehicle surfaces for advertising and growing your business on-the-go. Affordable, wind-tested and durable custom car magnets are the perfect choice for removable signage on personal or business vehicles.
Vehicle Magnets
-
Use on metal, magnetic, and flat, smooth surfaces
-
Thoroughly clean surface before installing
-
Will not damage vehicle paint with proper use
-
Temporary and removable
-
Works with: cars, trucks, SUVs, vans, fleet vehicles, etc.
-
For maximum adhesion and longevity, remove and clean daily
-
Installation and care instructions must be followed closely
PERFORATED WINDOW VINYL
Using rear window graphics and signs is one of the most effective and safe ways to advertise your products, services, or business on your vehicle. When using other decals, they tend to obstruct vision and can even lead to unsafe driving. Rear window graphics allow you to display large messages and still maintain full visibility of your surroundings.
Vehicle Magnets
-
Vehicle decals printed with UV-resistant ink on micro-perforated vinyl. Allows you to cover entire windows and still see outside them from the inside of your vehicle. A great way to increase brand exposure without obstructing your view!
VINYL VEHICLE WRAP
Using rear window graphics and signs is one of the most effective and safe ways to advertise your products, services, or business on your vehicle. When using other decals, they tend to obstruct vision and can even lead to unsafe driving. Rear window graphics allow you to display large messages and still maintain full visibility of your surroundings.
Vehicle Magnets
-
Vehicle decals printed with UV-resistant ink on micro-perforated vinyl. Allows you to cover entire windows and still see outside them from the inside of your vehicle. A great way to increase brand exposure without obstructing your view!
How to Install Vinyl Car and Truck Lettering
All of our vehicle lettering comes pre-spaced and pre-masked with transfer tape, making installation a simple, all-at-once process. Follow the step by step instructions below to help you get it installed exactly as you want it.
- Thoroughly clean and dry the surface of your car or truck where the decal will be installed.
2. Apply a horizontal strip of masking tape to the top of the graphic with the top half of the tape on the intended surface, creating a hinge.
Note: Designs with three or more colors will require you to place individually colored layers on your vehicle. Two vinyl dots (one in the upper left corner and one in the bottom right corner of each layer) will be used to help align individual layers.
3. Hold the bottom edge of the hinged graphic away from the intended surface and remove the back liner, revealing the sticky backing of your lettering. Be careful not to allow the exposed adhesive to touch the surface.
4. Using a squeegee*, press down on the premask, placing the lettering or graphic onto the intended surface. If creases develop, carefully lift the graphic and place it again. Work from top to bottom and left to right.
*Available for purchase with vehicle lettering.
5. Remove any air by dragging the squeegee from the center of your graphic outward.
6. Gently remove the premask, starting at a top corner. If any vinyl begins to come off the surface, use your squeegee to firmly adhere it back to the surface and continue peeling away the premask. This should remove the masking tape hinge as well.
7. Laying the liner over the graphic with the shiny side facing you, apply hard pressure with the squeegee, removing any remaining air bubbles.
As noted above, for vinyl lettering with three or more colors your order will have one layer per color. Repeat steps 2-7 and use the registration marks in the in the upper left and bottom right corners to ensure proper alignment and installation. The video below shows the installation process for 1 and 2 color vinyl lettering.


